

In this guide we will walk you through end to end process to set up and remotely manage your screens with Amazon Fire TV and kasernet Digital Signage, or you can follow along via the setup video below.
Here are the high level steps:
1) Set up Amazon Fire TV Stick
2) Download OptiSigns Digital Signage from Amazon App Store
3) Using OptiSigns’s web portal to assign content and remotely manage your screens
So let’s dive in!
1) Set up Amazon Fire TV Stick
Plug in FireStick and connect to Power. When connecting power it’s temping to use the USB of the TV to power the Fire TV for convenience, but Fire TV consume a lot more power than TV’s USB can supply, so it always best to use the power adapter and cable come with the Fire TV.

Power on the Fire TV and follow on screen instruction to connect to Wifi and register the device with your Amazon account.
Note that Amazon Fire TV requires internet to work.
2) Download & Set up OptiSigns Digital Signage from Amazon App Store
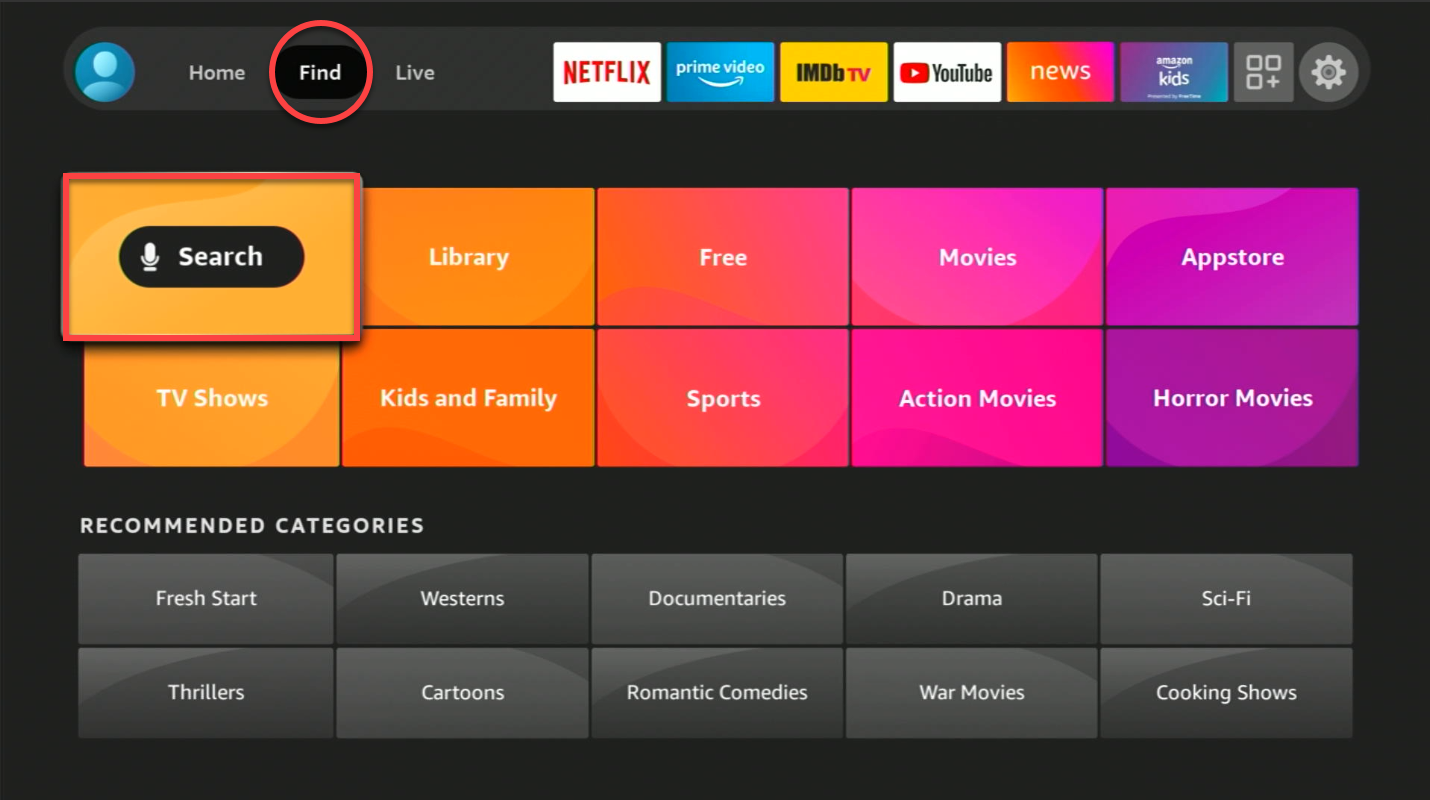
Press the Search icon on the Find section of the Fire TV,
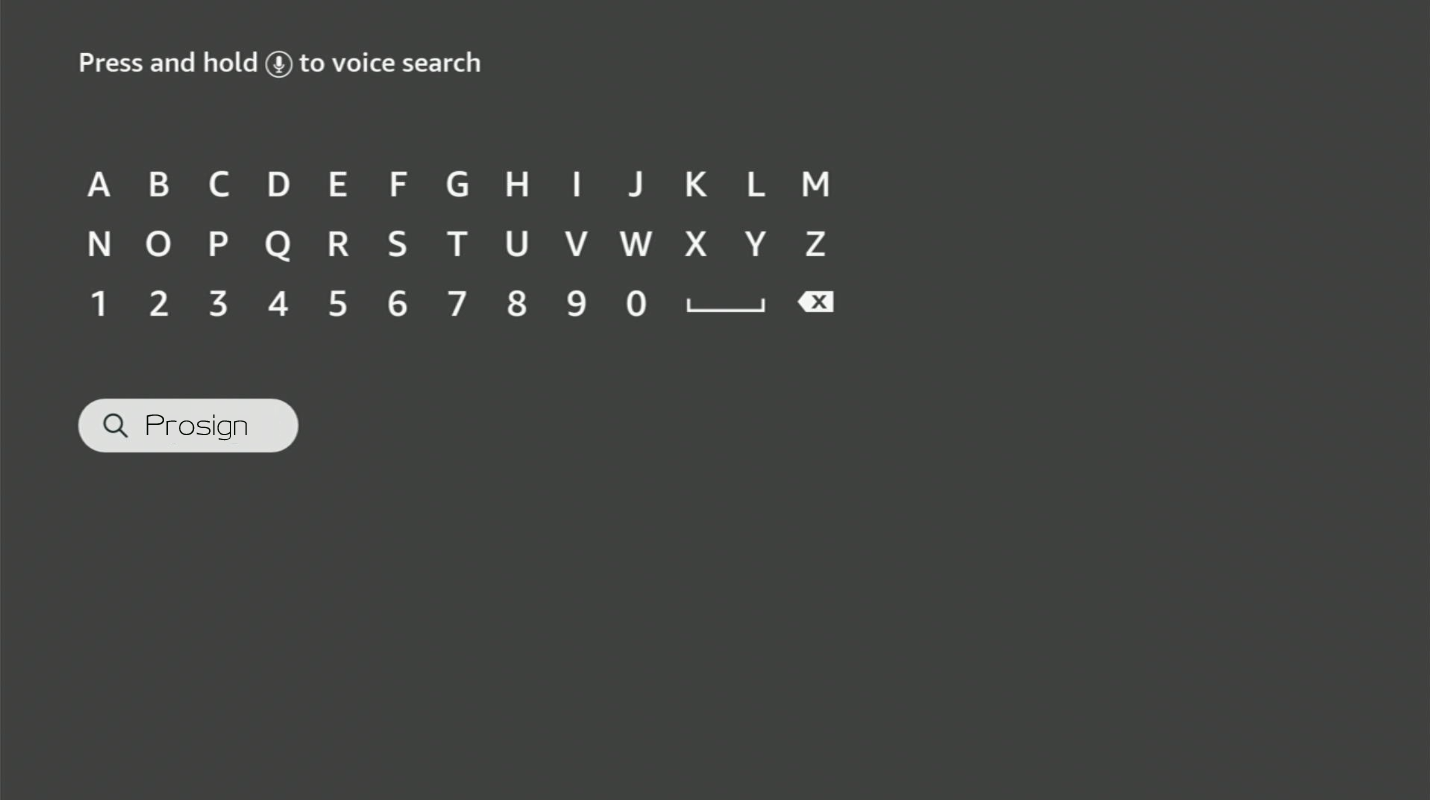
Type in “Prosign”.
Fire TV Search could be tricky to use, and search as you type sometimes does not work properly.
After you typed “Prosign”, be sure to press the menu down button until the “Prosign” text is highlighted and then click on it.
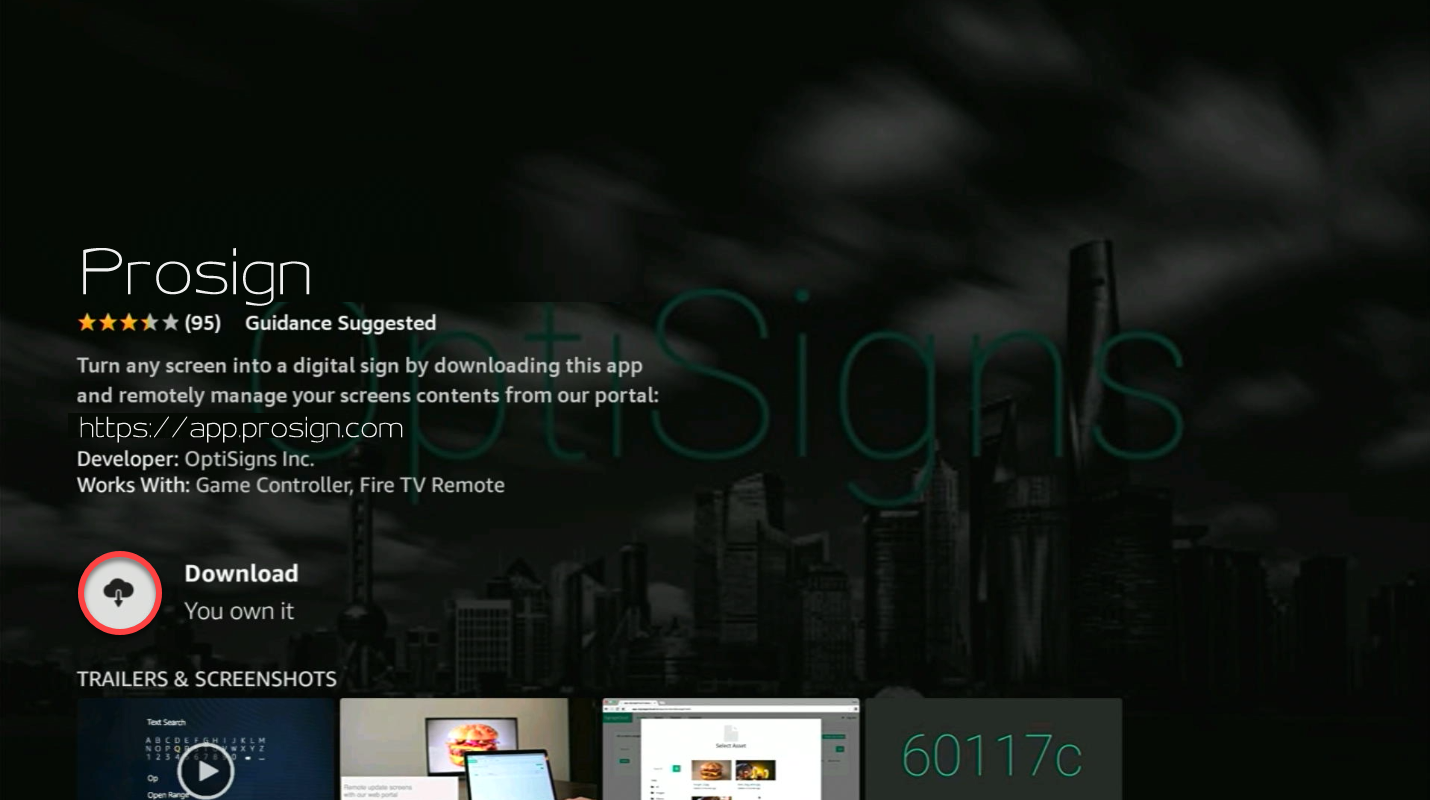
Click Download on the Prosign app icon
Once the app is installed, launch it.
The app will ask if you want to automatically start when device start up. It recommended to select yes, unless you want to launch the app yourself every time manually.
You then will see this pairing screen:
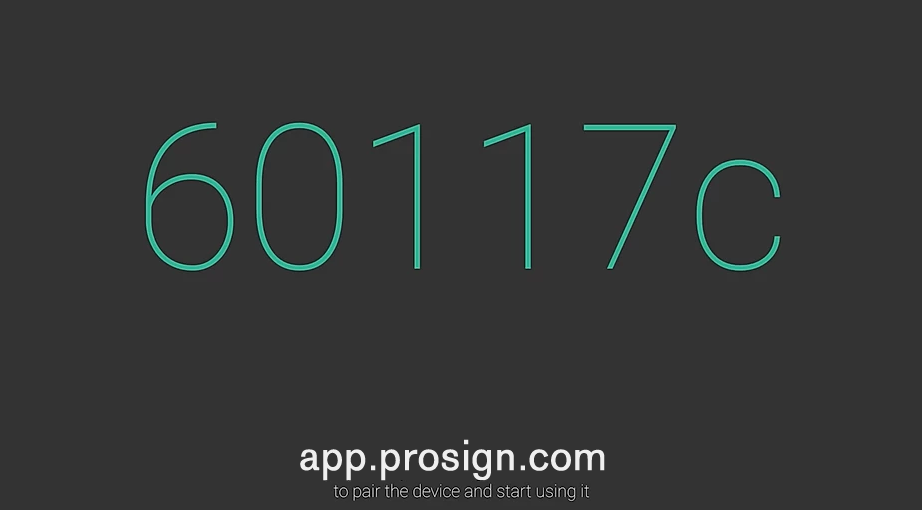
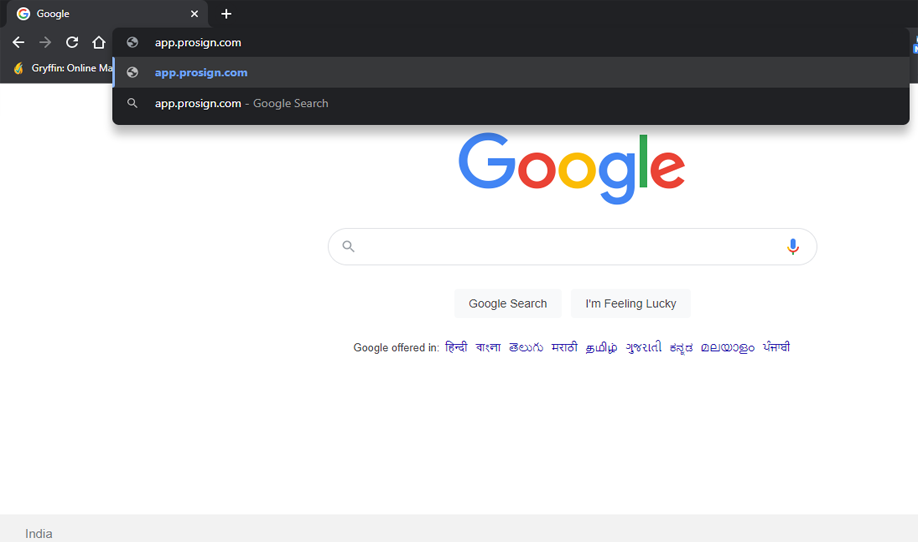
Go to our website: https://app.prosign.com
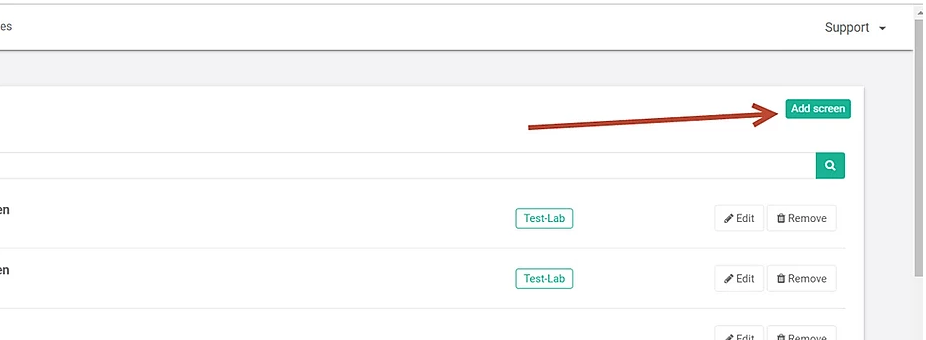
If you don’t have an account already, create one, or you can also log in with Google or Facebook account.
Once you logged in Click “Add screen” button
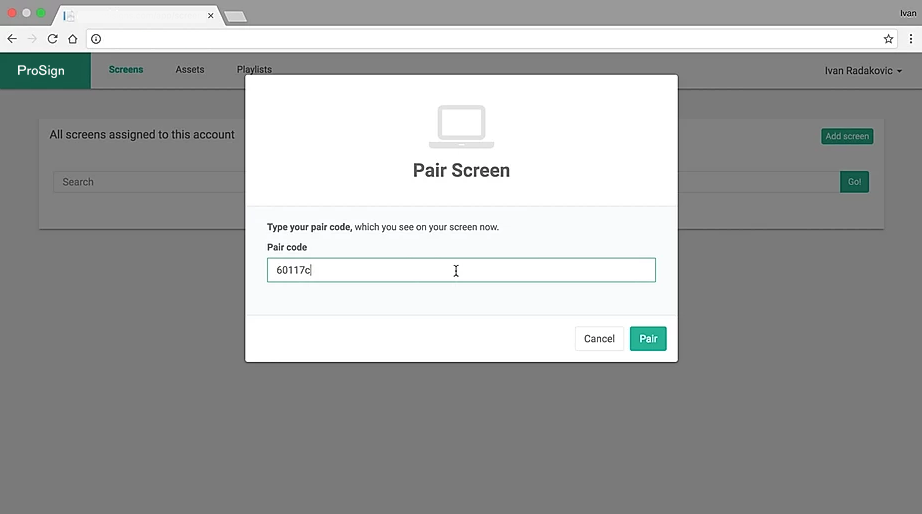
In this pop up, type in the Pair Code showing up on your Fire TV screen. Then click Pair
The Fire TV screen will change to:
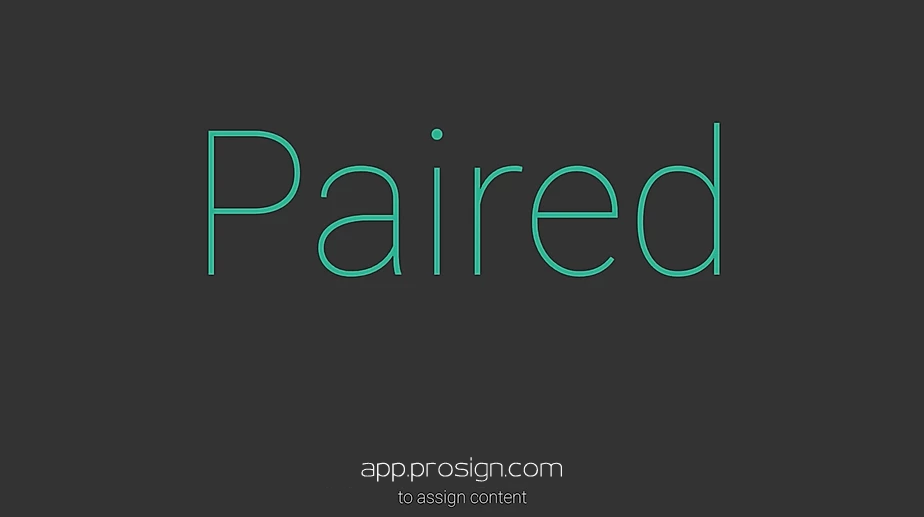
Now you are ready to upload and assign content.
3) Using Prosign’s web portal to assign content and remotely manage your screens
1. Upload video/image to your account
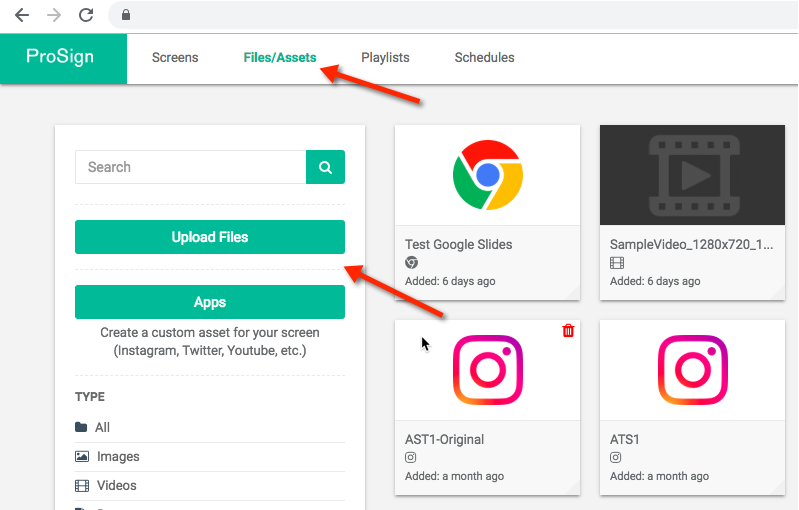
Log on to your account. Click File/Assets
Click Upload Files
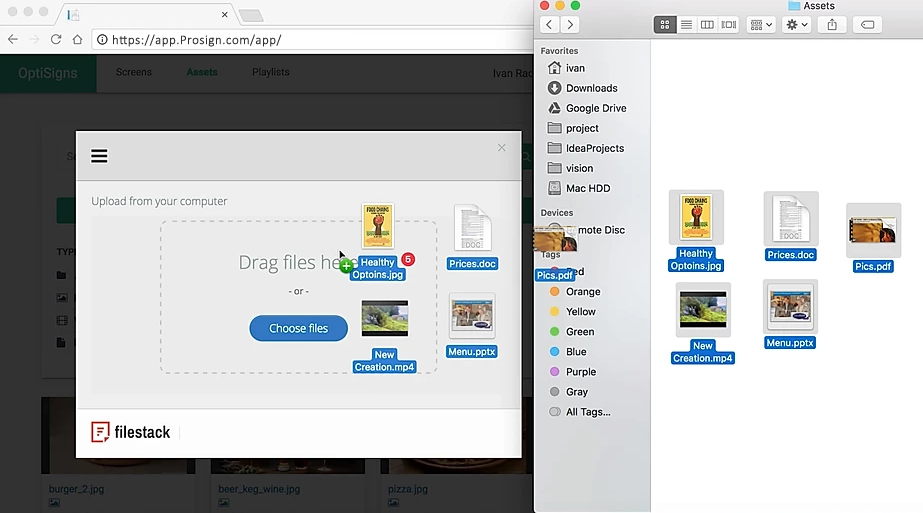
In this pop up, click to browse the file or drag and drop your files here.
2. Create a Playlist:
Go to Playlist Tab: Click Create Playlist A “New Playlist” will appear at the bottom on the screen. Click on it.
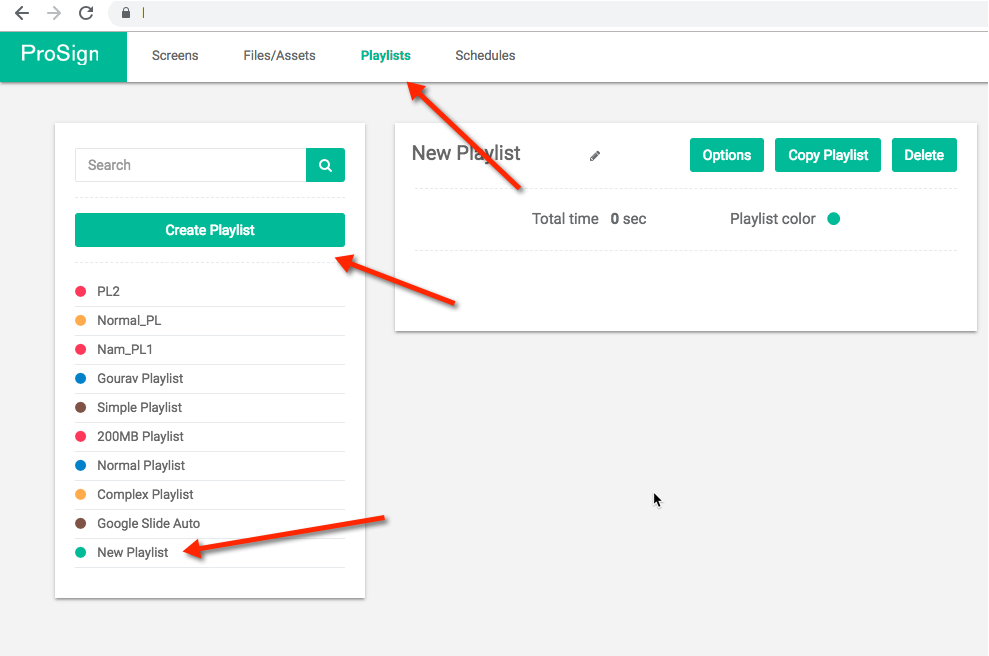
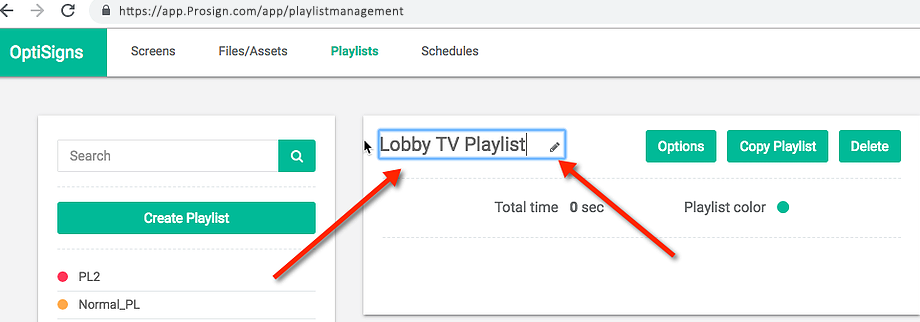
Click on the pencil button to change Playlist name.

Change it to something meaningful for you. In this case we will name it “Lobby TV Playlist”
Drag and drop Video/Images that you uploaded to the playlist.
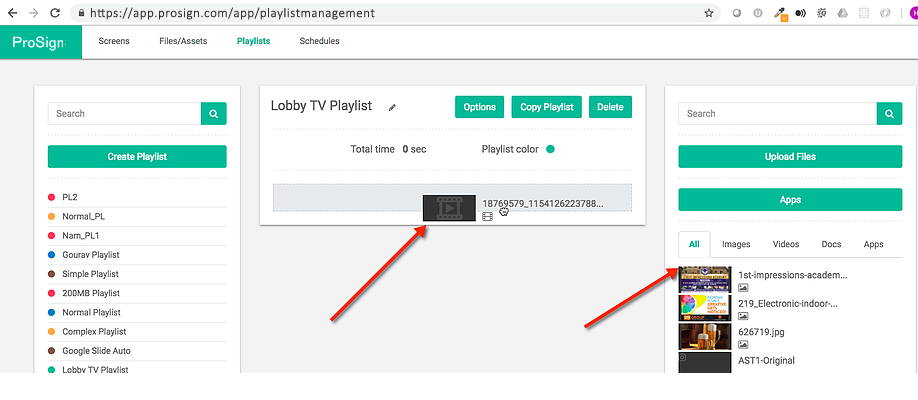
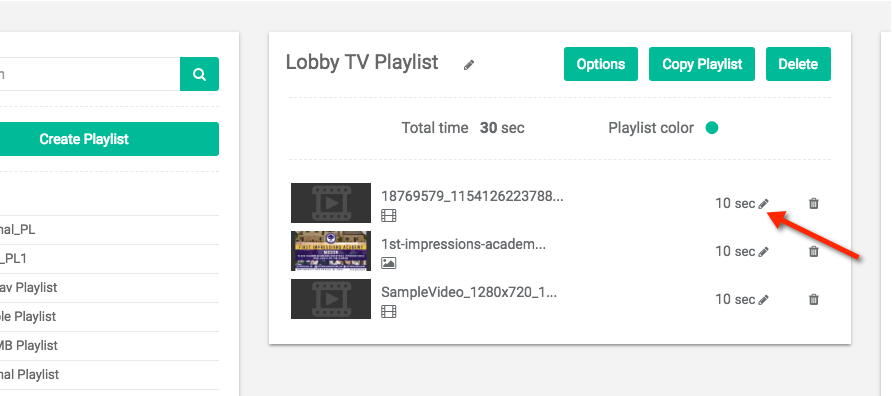
When you done, it should look something like below
You can click on the pencil button next to the item duration like below to change the duration of the item on the playlist.
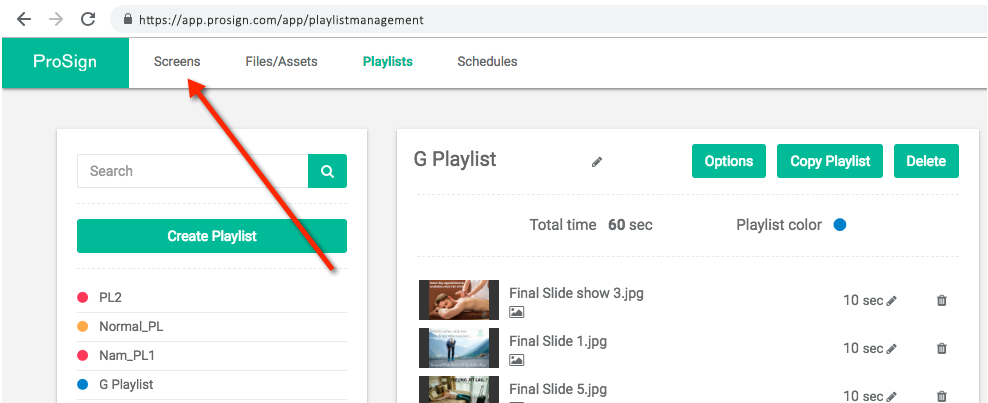
3. Assign the playlist to your screen: Go to the Screen tab.
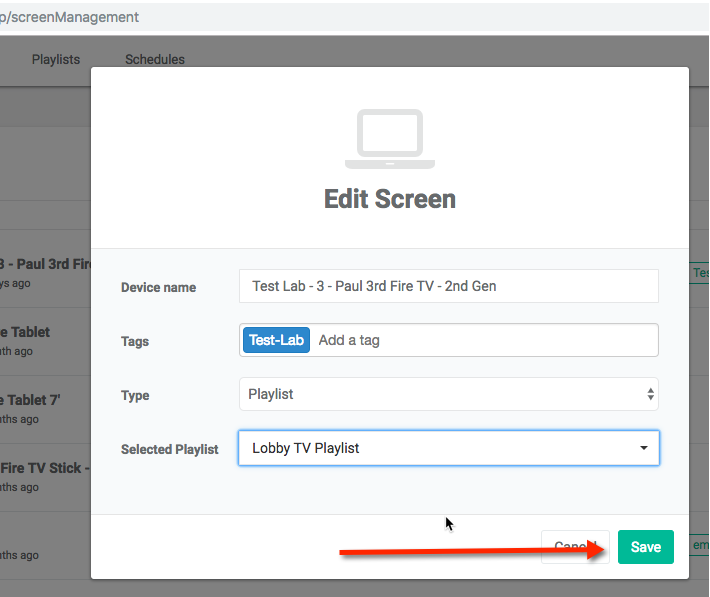
Click “Edit” button on the screen you want to change.

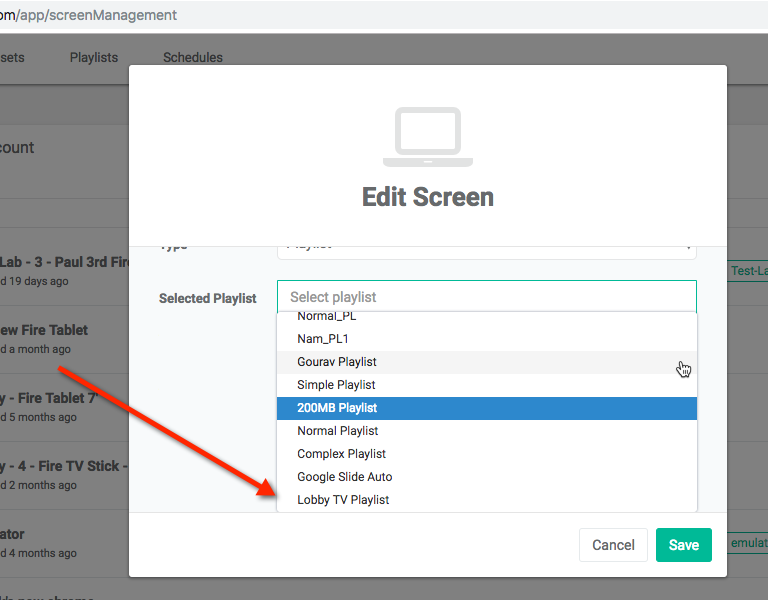
Click the Type drop down list and select Playlist.
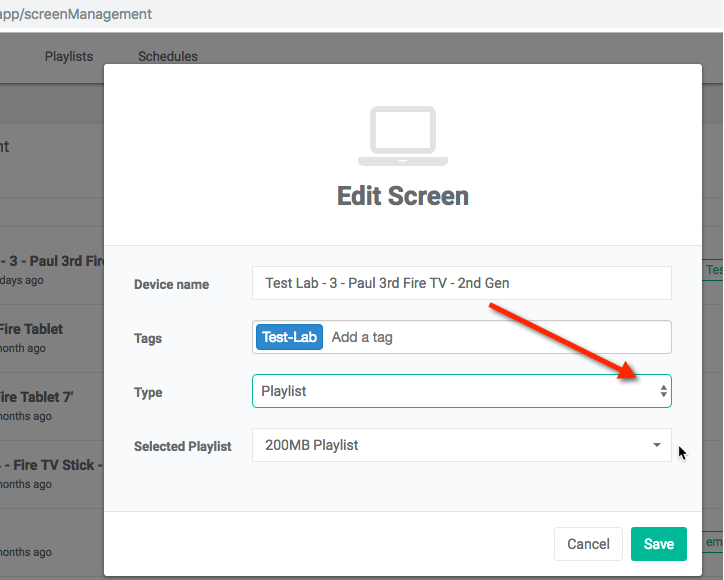
Click the Selected Playlist drop-down and select the playlist you’ve created. In this case we select “Lobby TV Playlist”
Click Save
The Screen will be updated.
If you want to change the playlist, add, remove Video/Image, change duration, etc.
You can go back to Playlist tab and make the change to the playlist.
The device will update automatically.
You can also start using Apps like Google Slides or set up Schedule for your contents.